This tutorial will show you how to set up a Loyalty program for your customers. It also shows how to select and
set Loyalty points on your products.
The Loyalty program is divided into three tabs, Loyalty program, Products, Levels.
The first step is to set up the general settings for the program, second, you select the products and set the points
to them, thirdly you can create levels based on points to use for targeted offers and rewards.
...
- Name your points
If you like your points to be called something else than points, this is the place to name them.
You can call them whatever you like, eg. something to do with your business.
"Points" are set as the default name, so if you don't change it, they will be called points. - Image
This image will serve as the background and profile image for the Loyalty program.
Upload an image that will represent your Loyalty Program. (See image below)
The image ratio is 2/1 and the recommended size is 600x300 px. There is always a black 0.50 opacity on the image so the white text can be read. - Promote membership
This is a line of text that the app users will see on the first page before they have registered.
Write your own text or use our suggestion.
Until the customers have registered they cant use any offers or place an order. - Description of your Loyalty program
Your opportunity to write a personal text about the loyalty program to your customers. This will be visible as the first text on the Loyalty page in the app.
This is optional so if you leave the input-fields of Heading and Body empty, nothing will show in the app. - Show this text about conversion rate for Loyalty points in the app
This text explains to the customers how much they have to spend to earn 1 point.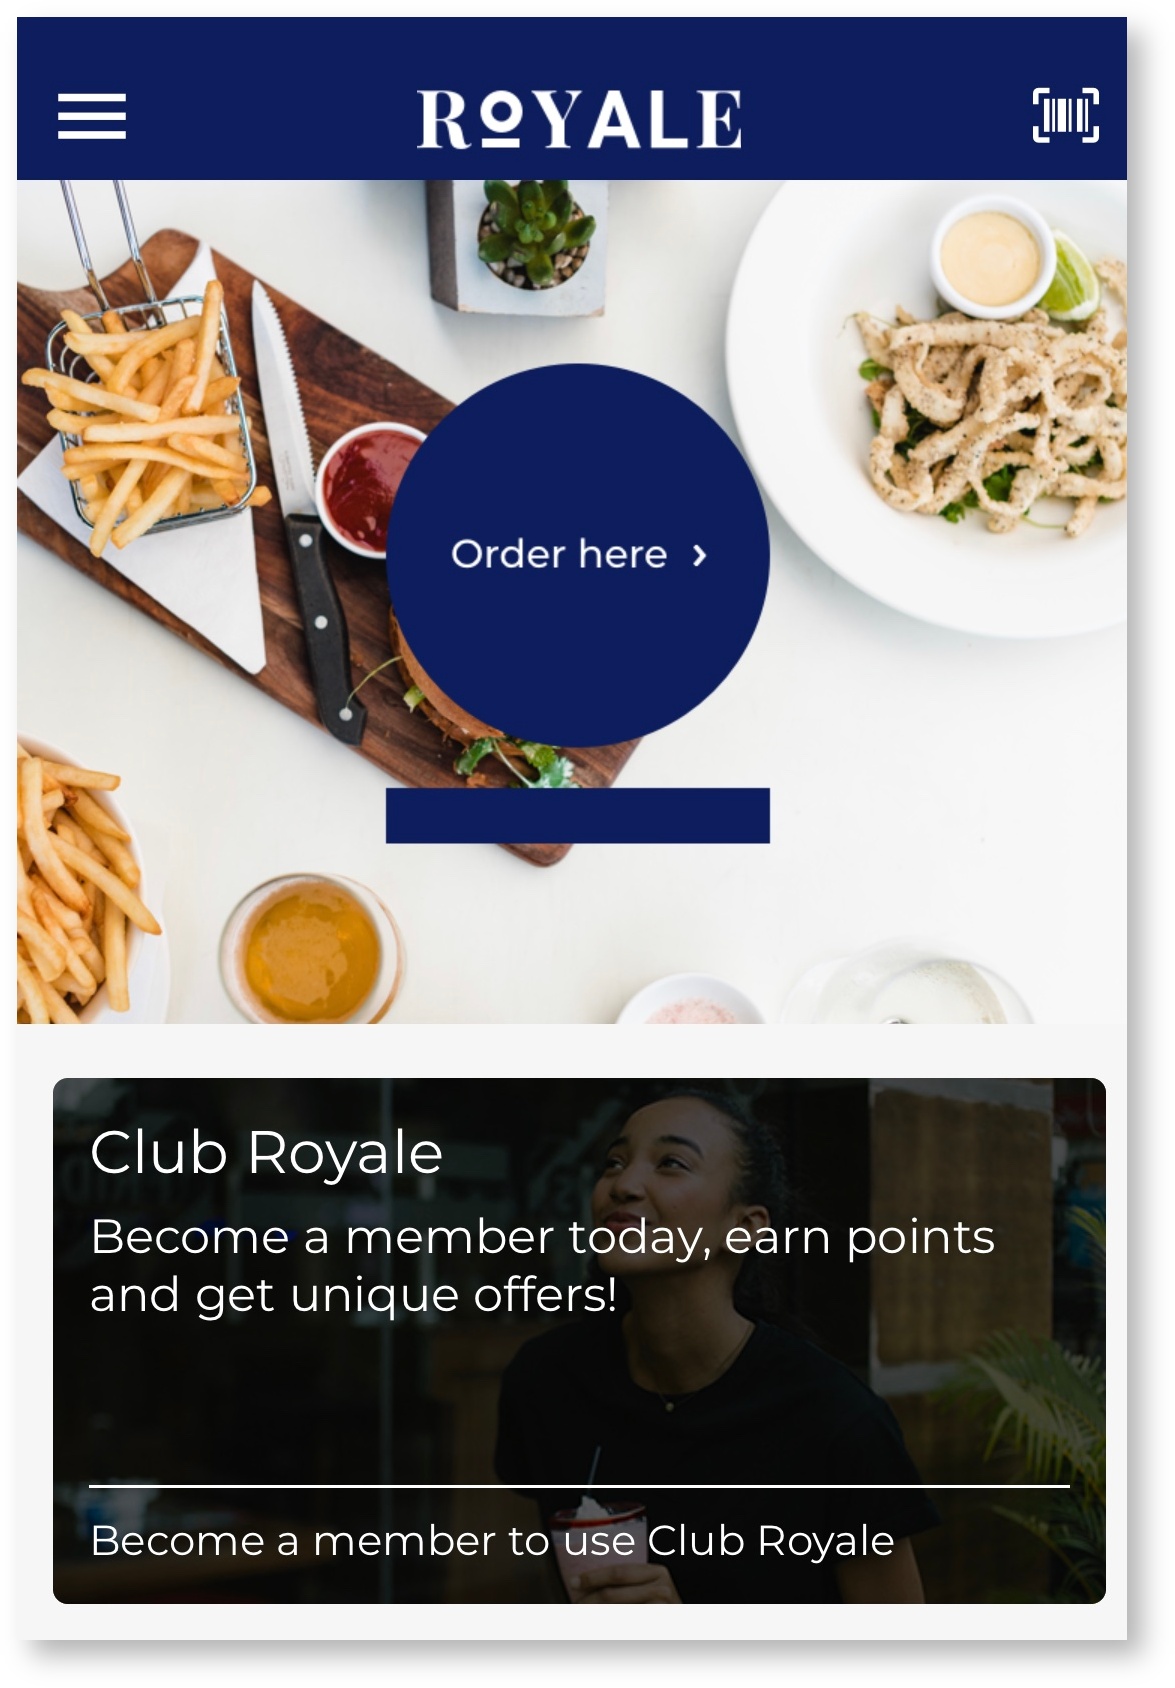
This (below) is how it can look when
the customer has registered, but not
yet bought anything.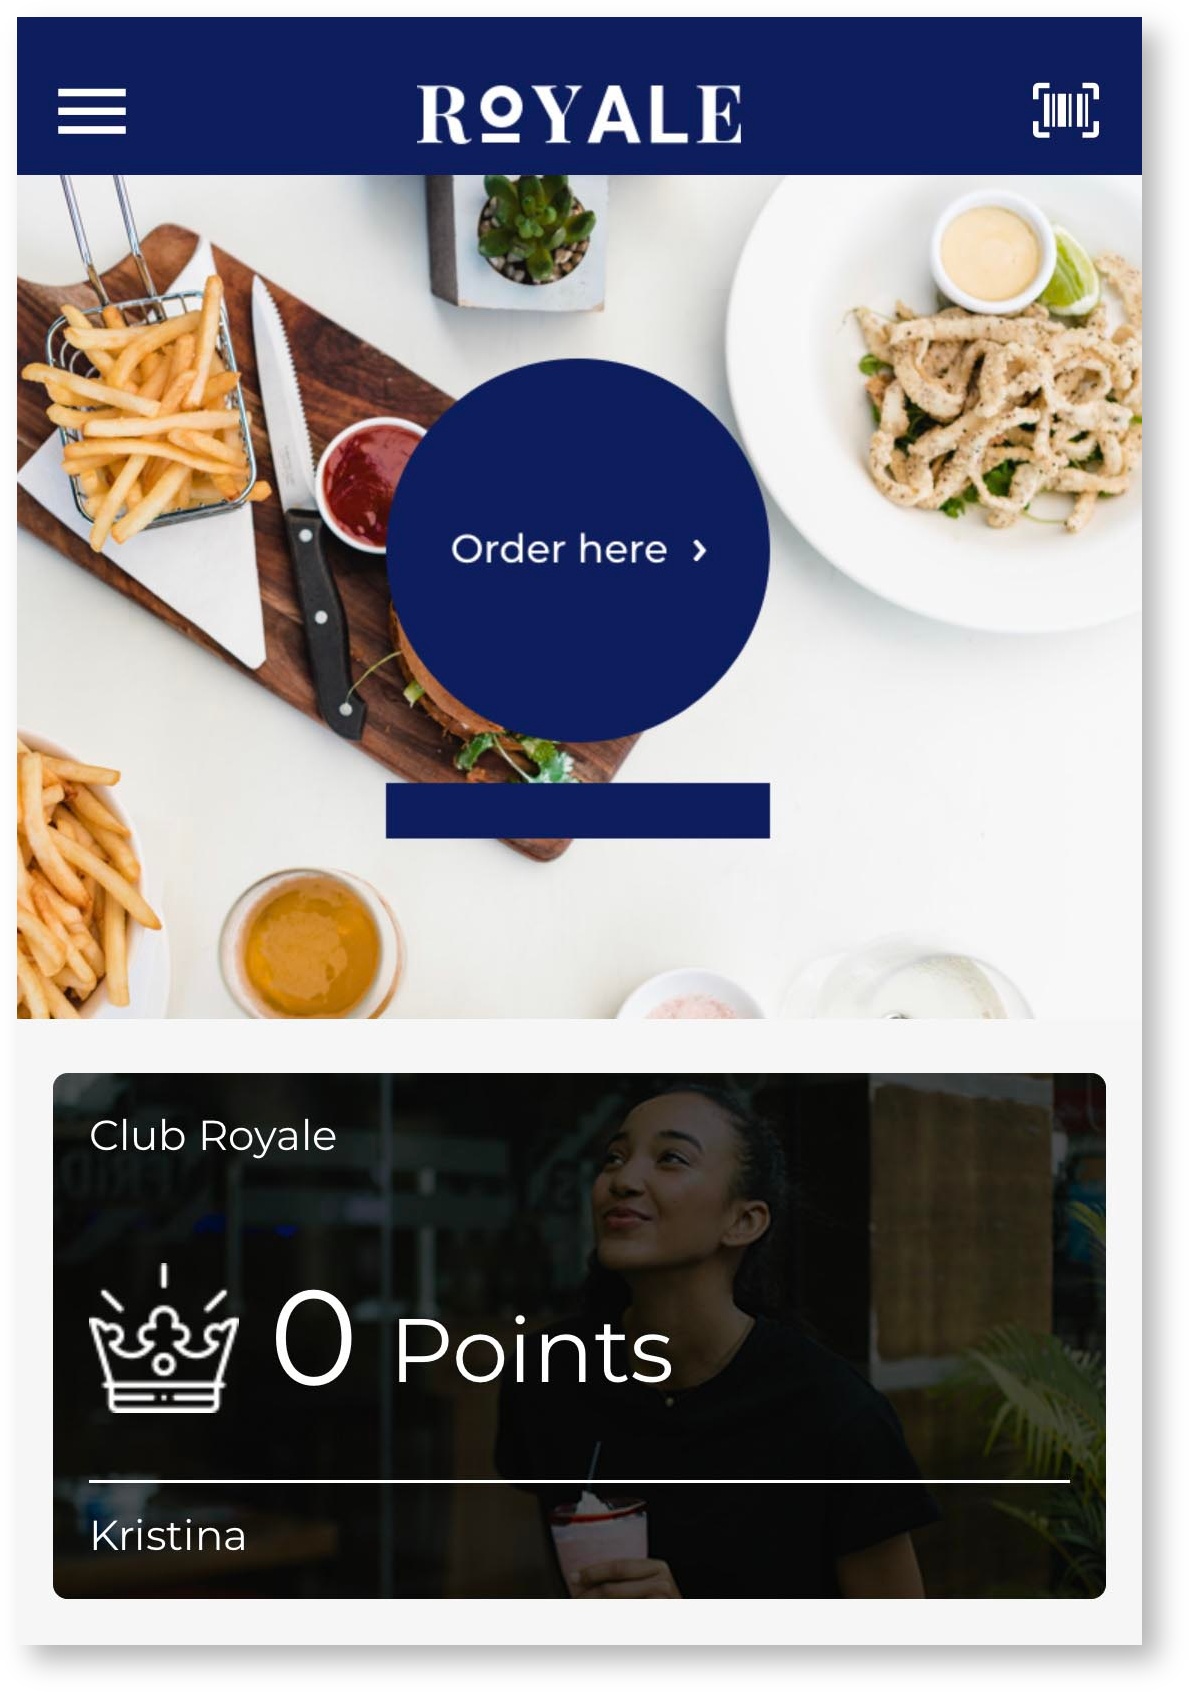
...
Technical specifications for Loyalty-icons:
File format: .png
Small icon:
28x28 px saved in .png
Name: loyaltyIconSmallActive
Read more/main color: #xxxxx
Name: loyaltyIconSmallDisabled
Colour: Disabled grey #B1B1B1
Name: loyaltyIconSmall
Colour: navHeader text color #xxxxx
(navHeader text color is usually either white or black)
Large icon, for the loyalty card:
60x60 px saved in .png
Name: loyaltyIconLarge
Colour: White #FFFFFF
Products
In order for customers to be able to spend their earned points, the products must have a point value as a loyalty price.
The loyalty price is displayed next to the usual price in the app. You can choose to set values on all products or just a few.
How to set the point value/ loyalty price on products:
- Select products
Click on the "Select products" button. A modal opens up and lets you select products based on e.g. product categories.
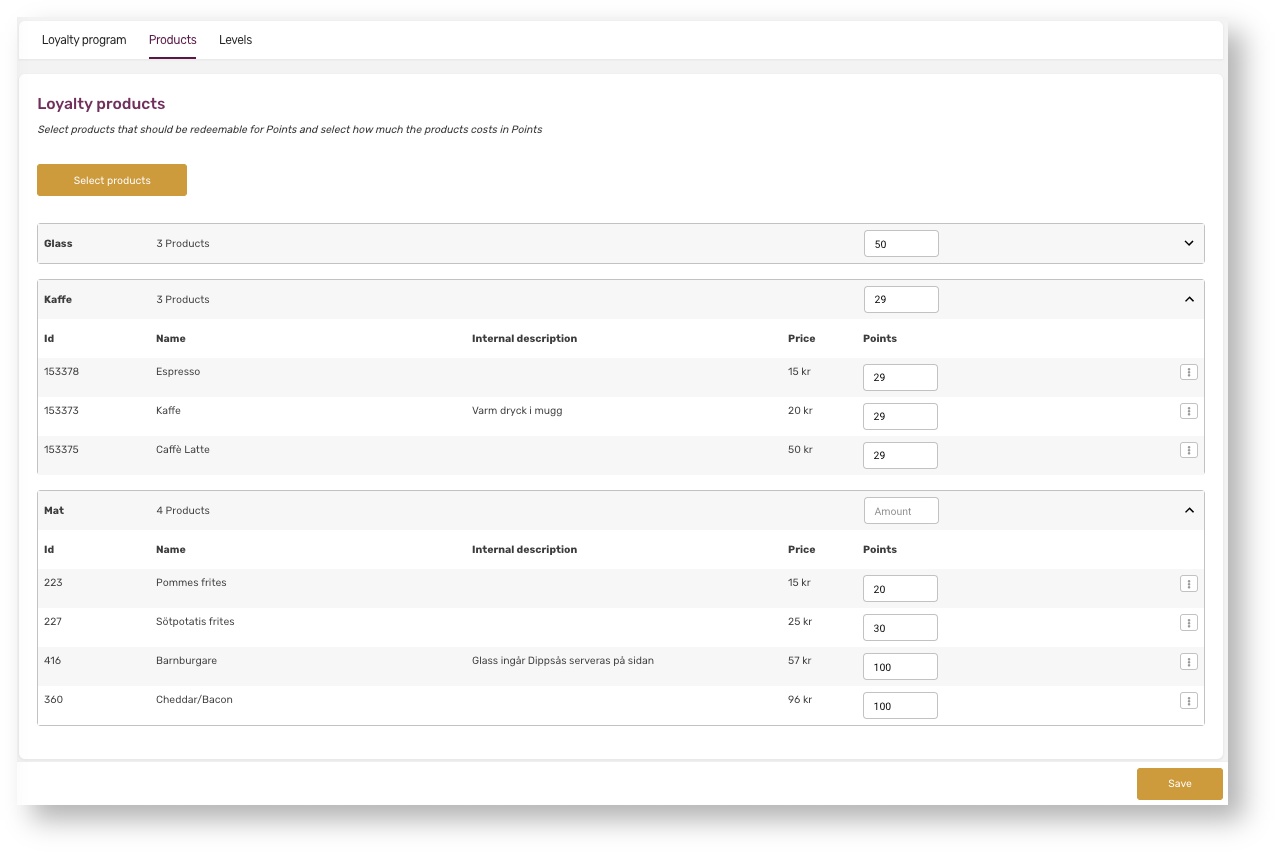
Click OK, when you are satisfied. - Amount of points
You can set a value/loyalty price on categories or individual products.
To set a value to the category, just enter the value in the top input field ofr for the section.
To set a value on a product level, open the arrow on the right and enter value to input field belonging to the products. - Include sub products
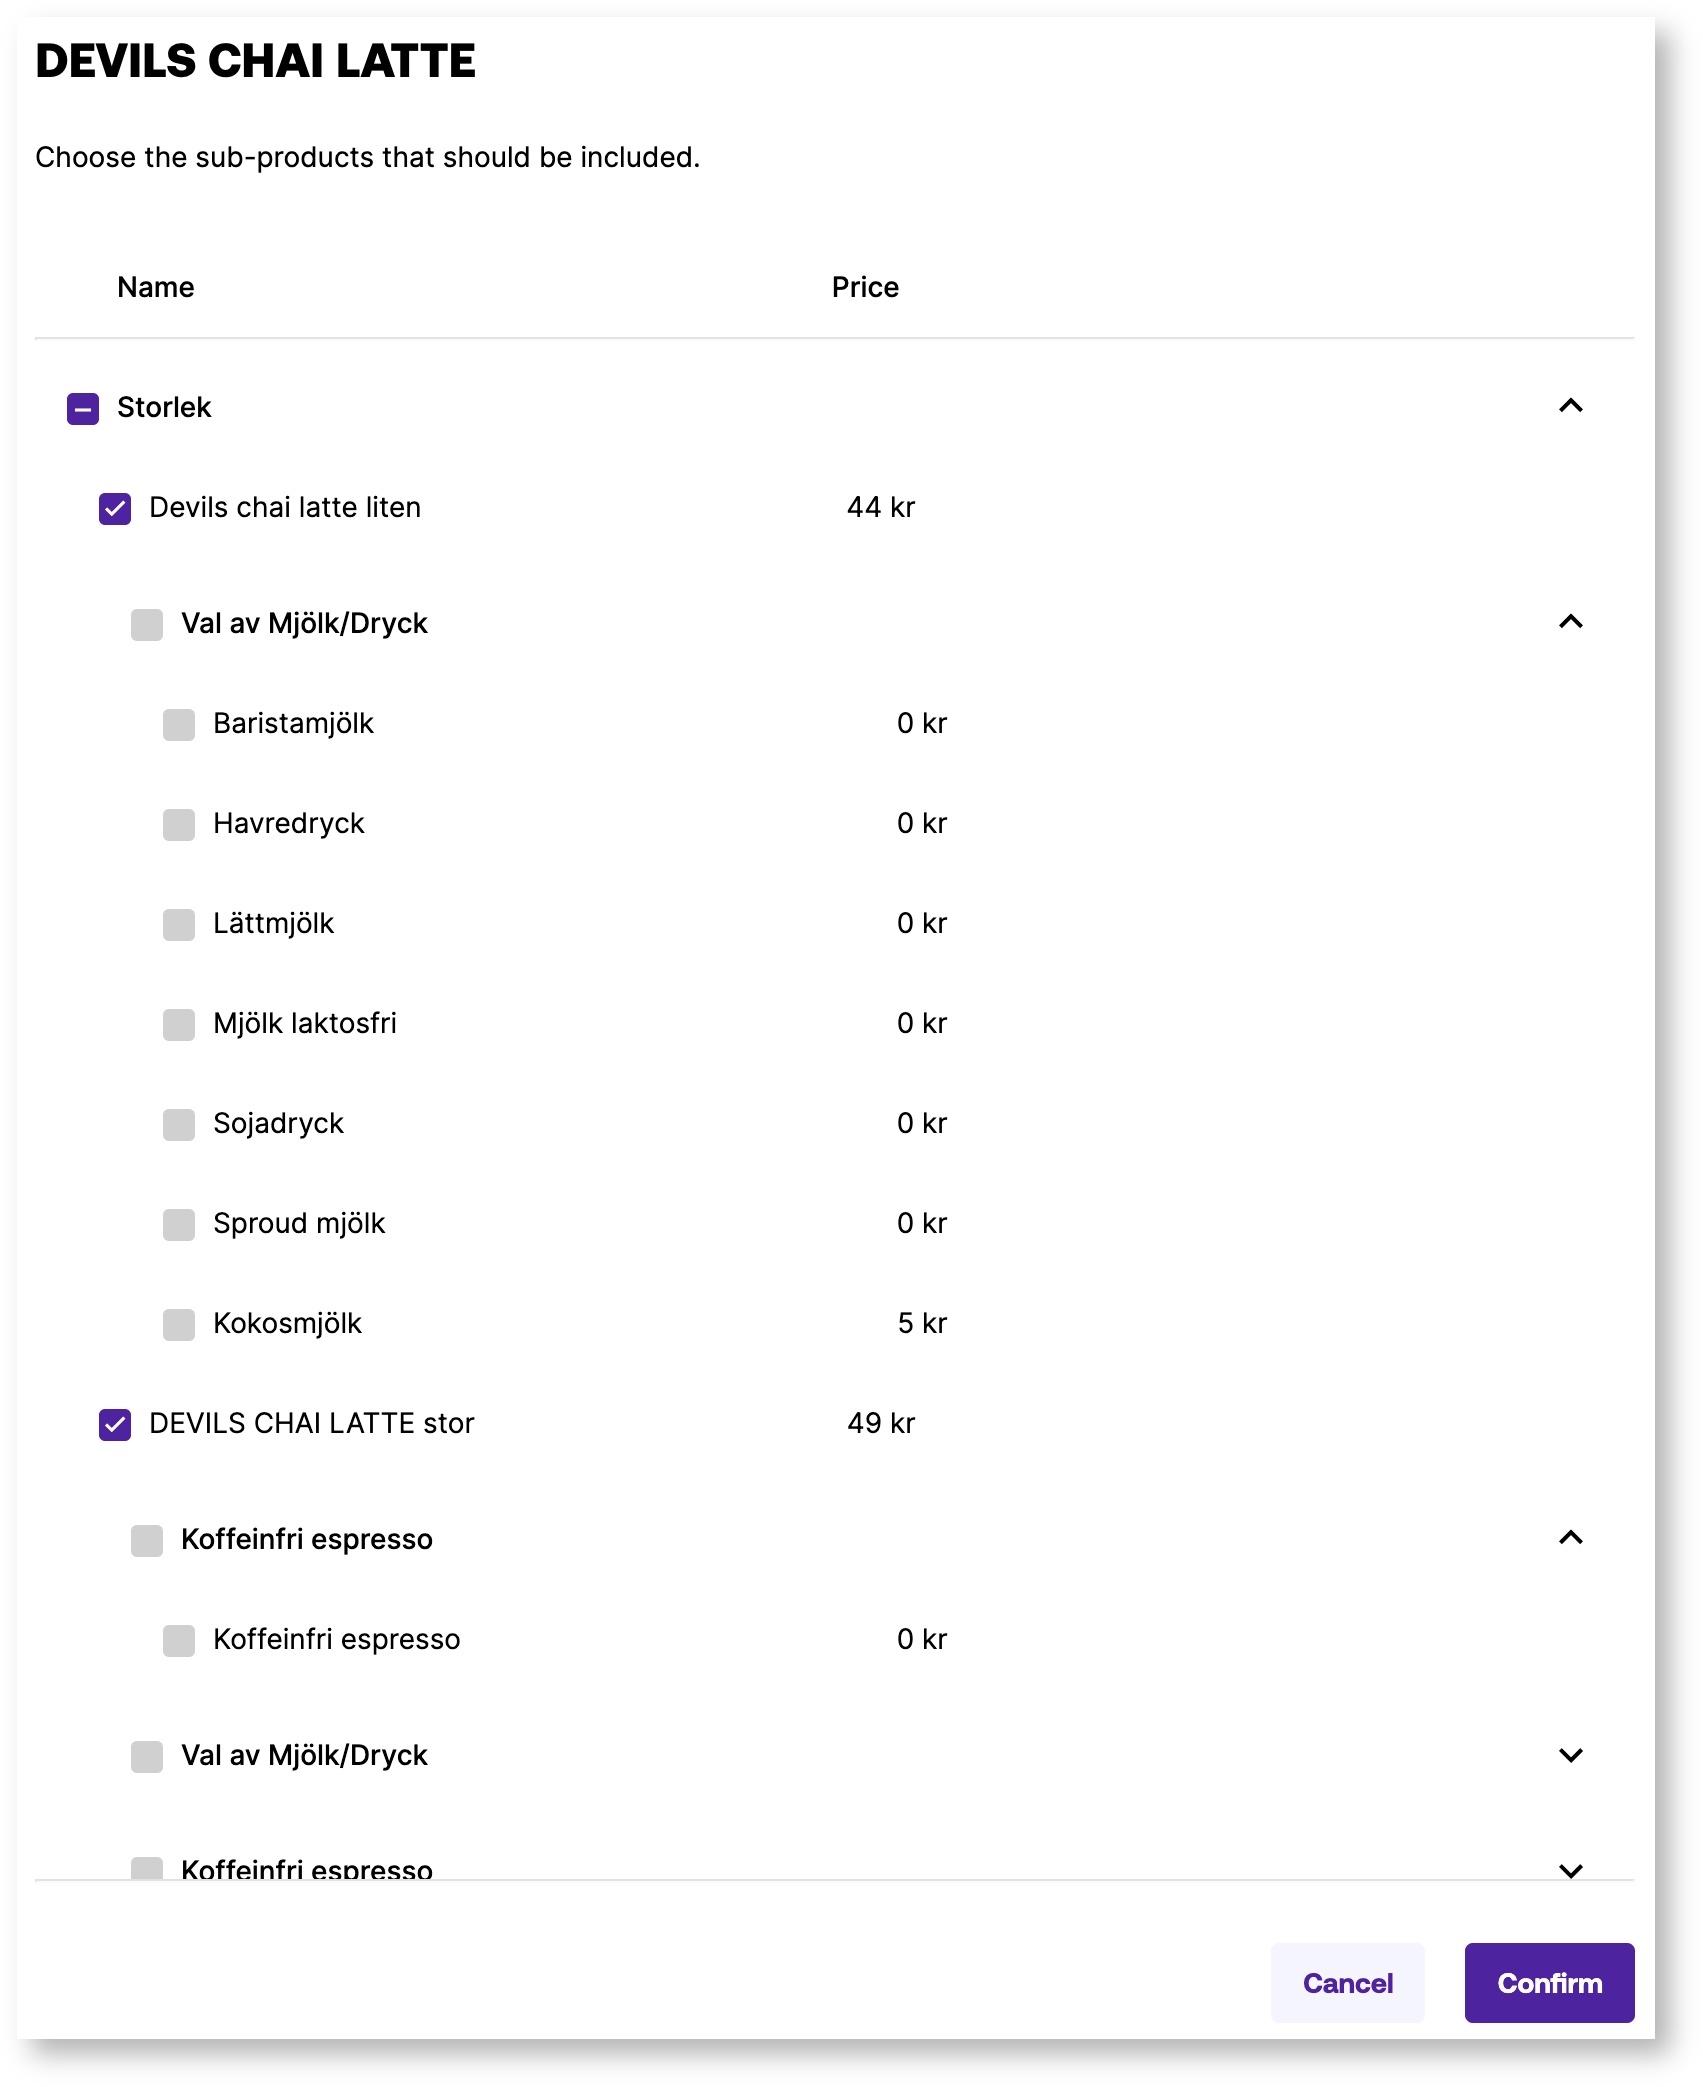
You can select which specific sub-products should be included for free when making a purchase with points by clicking on an individual product.
This brings up the dialogue above, where you can select specific sub products or entire option groups to include for free - Remember to Save when you are done!
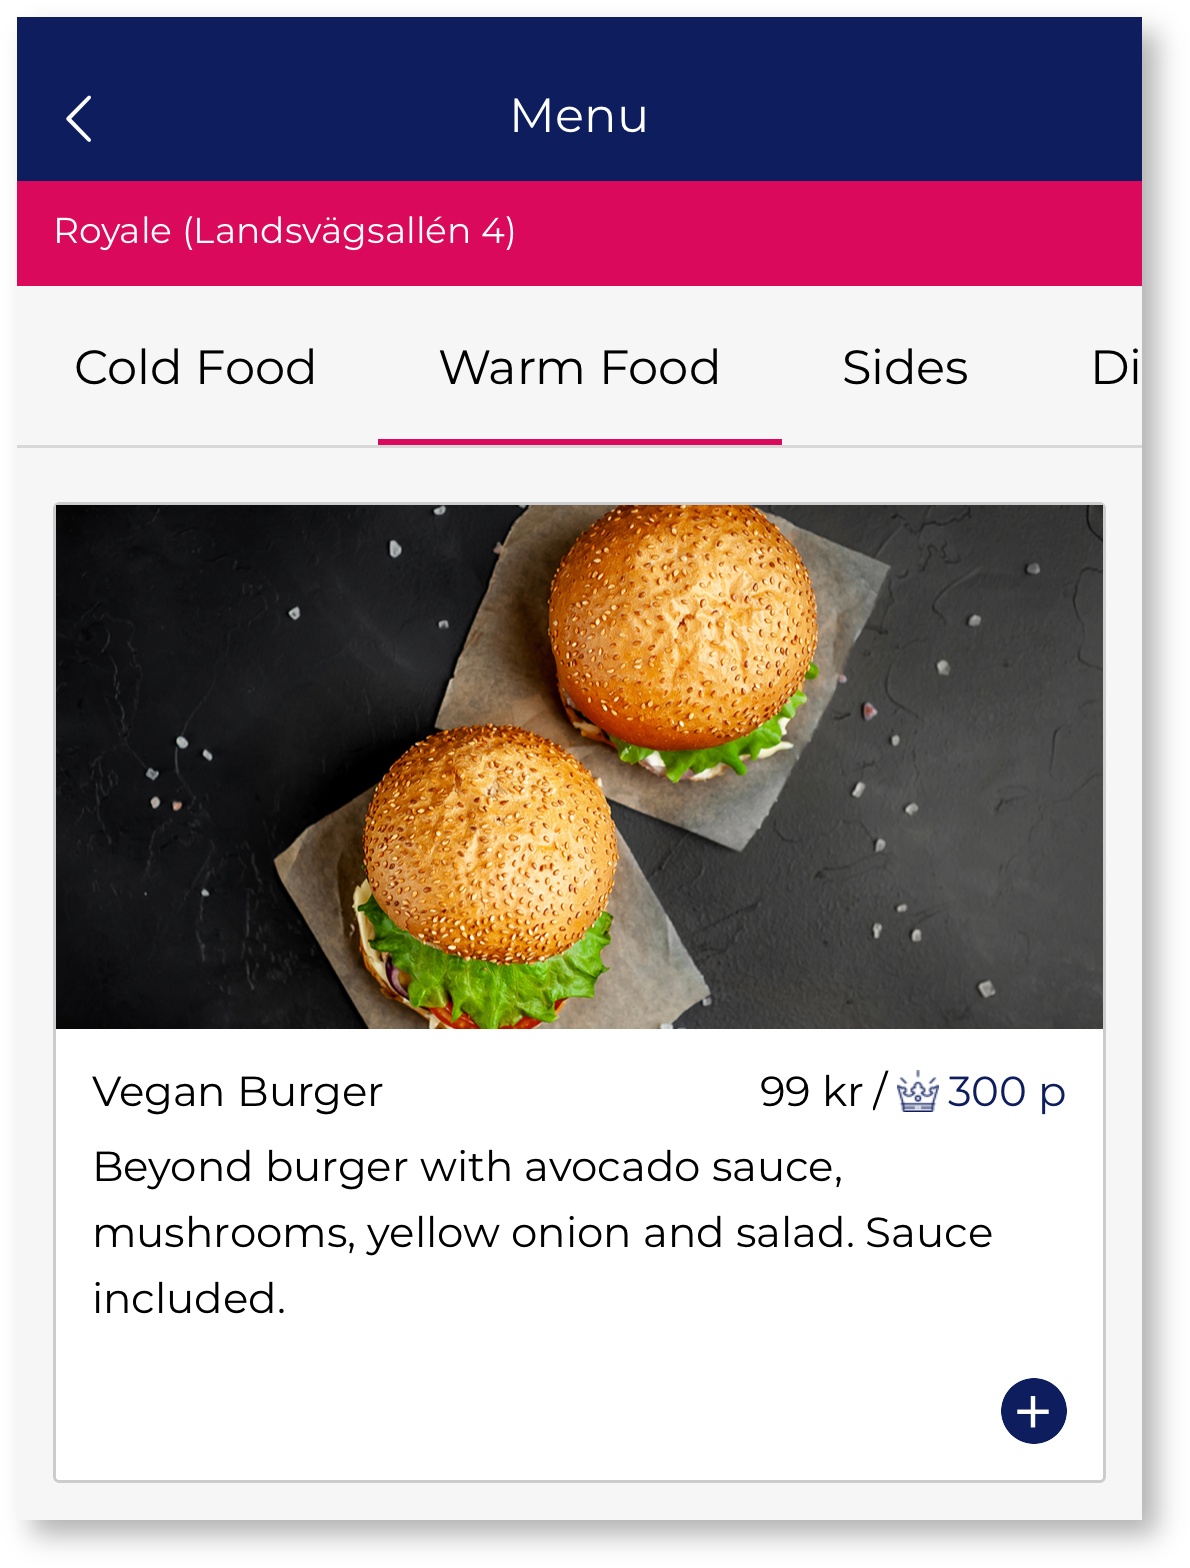
This is how it will look in the app.
Points are shown next to the price.
...
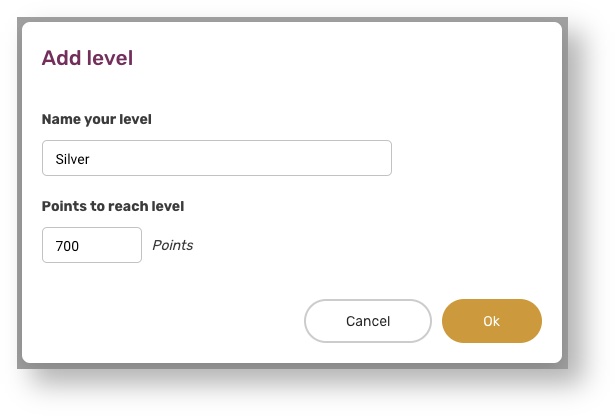
- Click Add Level
- First you need to add a "base" level, that always starts at 0 points. Its called "Starter" from the beginning, but you can rename it to fit your loyalty program. With that level you can target those members that haven't collected any or enough points to reach your next level. (If you chose to display levels in the app, this one will also be shown)
- Enter the name you like to call your level.
- Enter the lowest amount of points a customer need to have to reach the level.
- Click OK
5. Repeat step 1- 4 until you are satisfied with the number of levels.
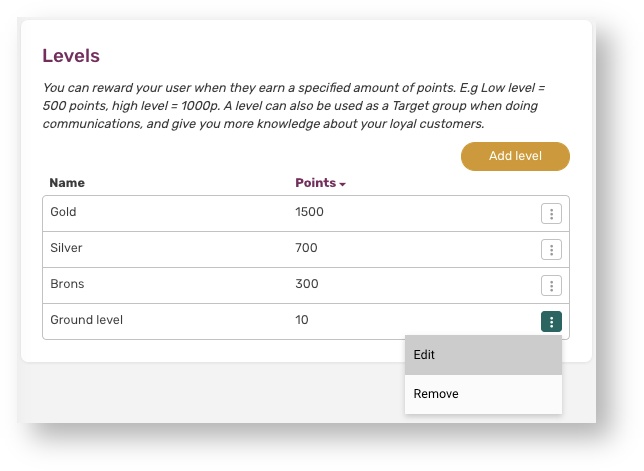
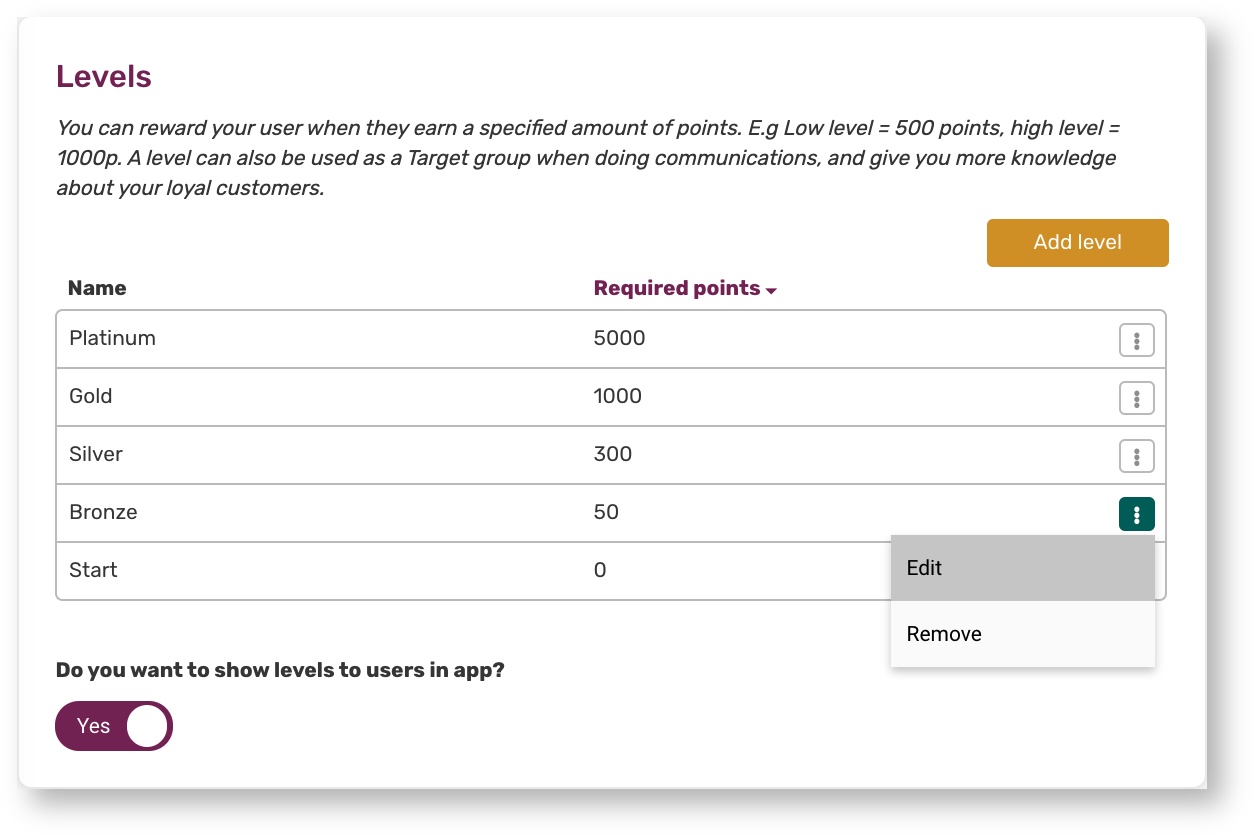
To Edit or Remove a level, click on the three dots to the right.
Remember to save after edited.
...