Punch card - tutorial
This tutorial will show you how to create a Punch card in Leeroy's back office.
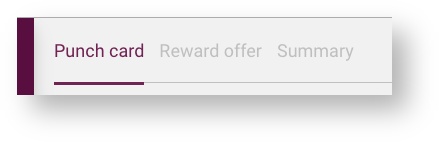
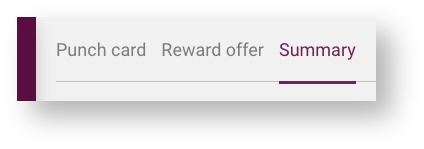
The service is split in three pages, Punch card, Reward offer and Summary.
You need to complete each part and save to be able to go further and to Publish.

Instructions
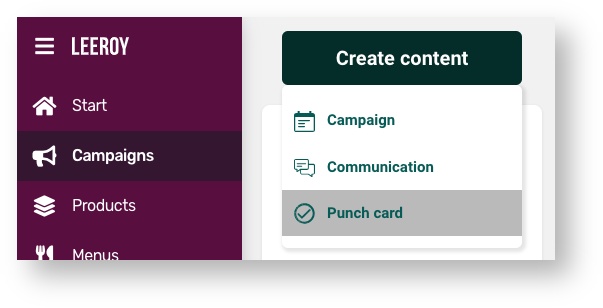
Click Campaigns in the menu on the left side
Click Create content
Select Punch card from the drop-down menu
Punch card
General
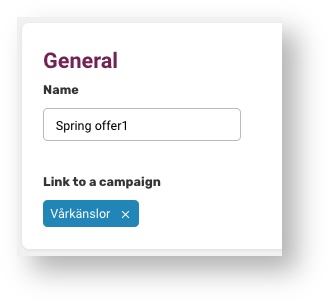
Enter a (internal) name for the Punch card so you can find it easily later under Campaigns.
Choose an existing campaign to add/link the Punch card to.
(You need to create a campaign first if you don't have one. See the instructions in the top and do the same but choose campaign)
Target group
The target group is your way to select the specific users you like to reach with your communication. You have a lot of choices and possibilities here to target specific customers and behaviors.
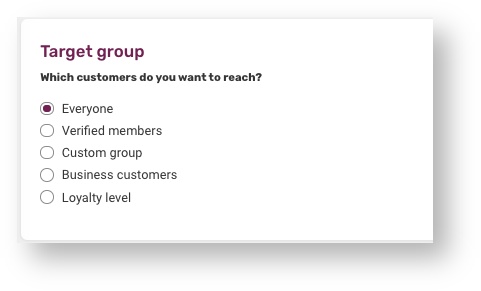
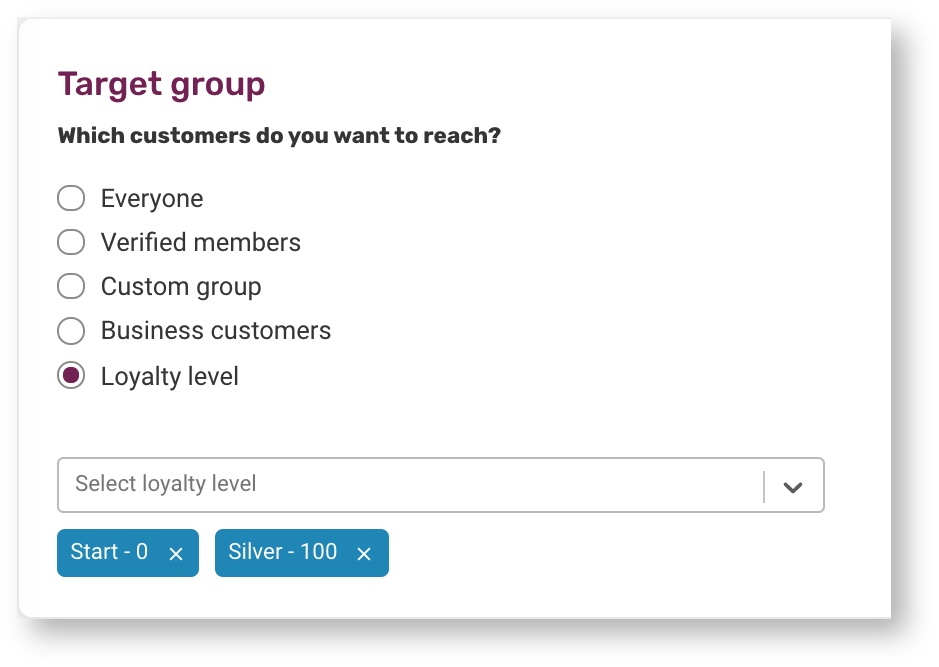
Click on the target group you like to reach.
Everyone - Everyone includes mpos and web preorder if you have these. If you select this, go directly to the next heading Settings for the punch card.
Verified members - selects all verified app users (also possible to scan in the restaurants to use offer). If you select this go directly to next heading Settings for the punch card.
If you select Custom group, go directly to step 2 below.
If you select Business customers, continue to step 3 below.
If you select Loyalty level, continue to step 4 below.
Custom group - Here you have the ability to target/direct your communication to a group of customers depending on when or what they have purchased earlier.
Depending on your choice you can see how many people the communication will reach out to.
You can choose one or several target options, pick and mix however you like. Options:Select one or several days.
Select a period of the day.
Select one product. (E.g. Target all customers who have purchased an “Original”).
Continue to Settings for the punch card.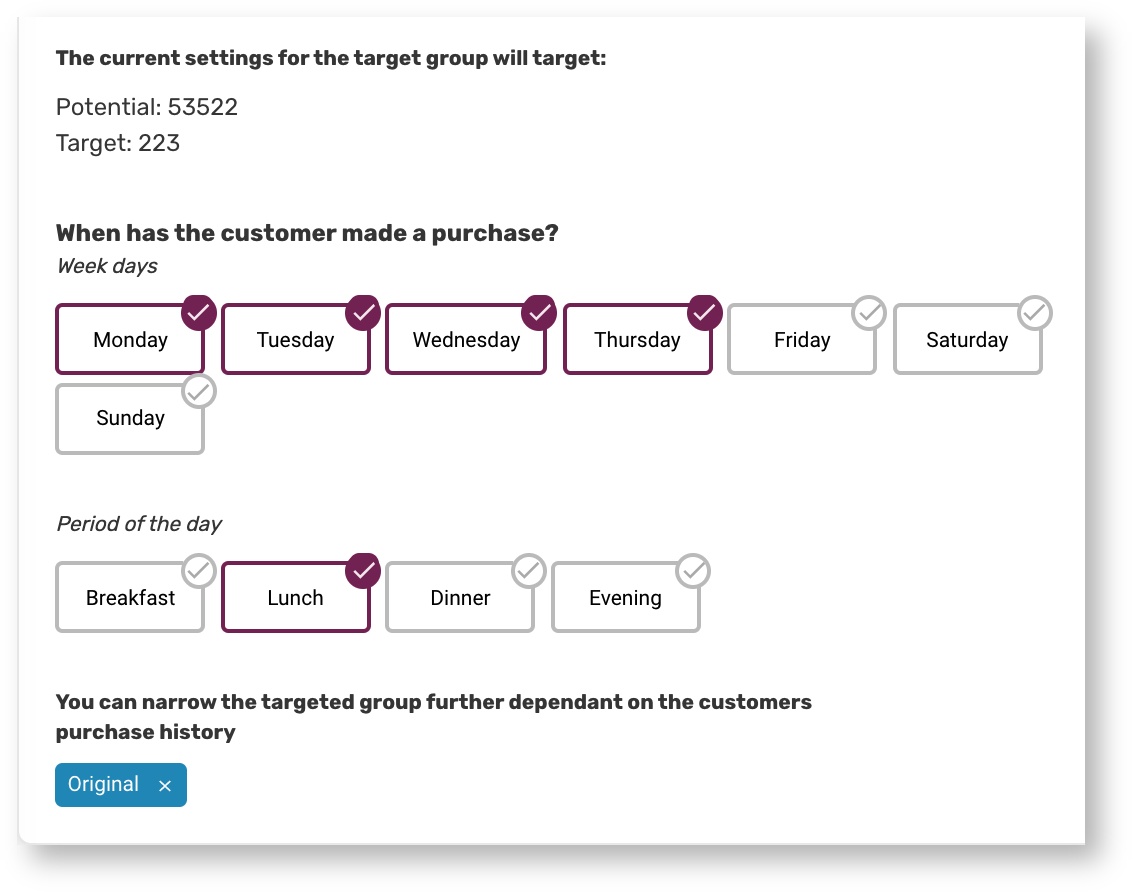
Business customers - (if you have this feature) Choose the business customers you like to receive the communication, you can choose more than one. Continue to Settings for the punch card.
Loyalty Level - (if you have this feature) Choose the loyalty levels that you like to receive the communication, you can choose more than one. Continue to Settings for the punch card.
Settings for the punch card

Select the dates for when you want the punch card to start and end. (It won't be visible and show in the app until the start date.)
Click the square with dates. A calendar box will pop up. Click on the desired dates.Click the time slot when you wish the customer to complete the punch card and set a timeframe if you like to have one.
Push notification: Fill in a message if you like to notify your customers/desired target group about the punch card, max 100 characters.
Create punch card
Now is time to create the actual punch card.
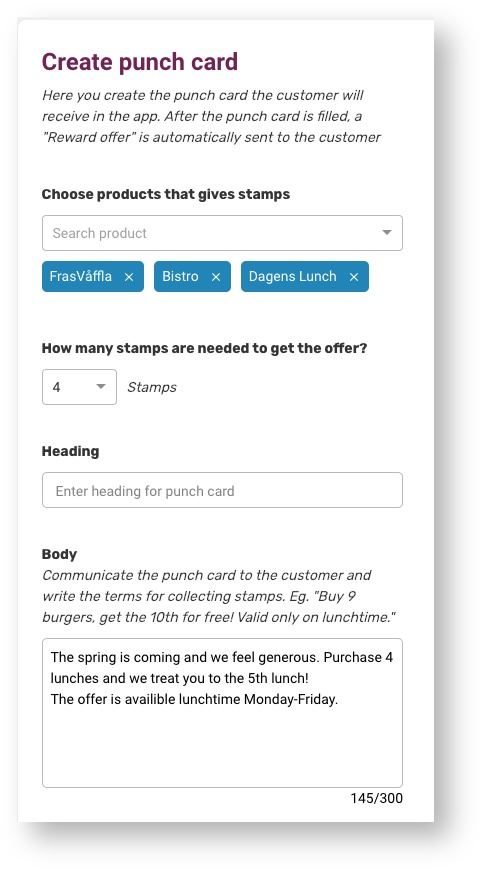
- Choose the products that will provide stamps when purchased.
- Click the dropdown list to set the number of stamps the customer needs to get the reward offer.
Fill in your offer in the Heading and Body and make sure to inform of what products the punch card is regarding.
The heading is the first thing the customer will see in the app. (See picture below, the digits are the status of the stamps).
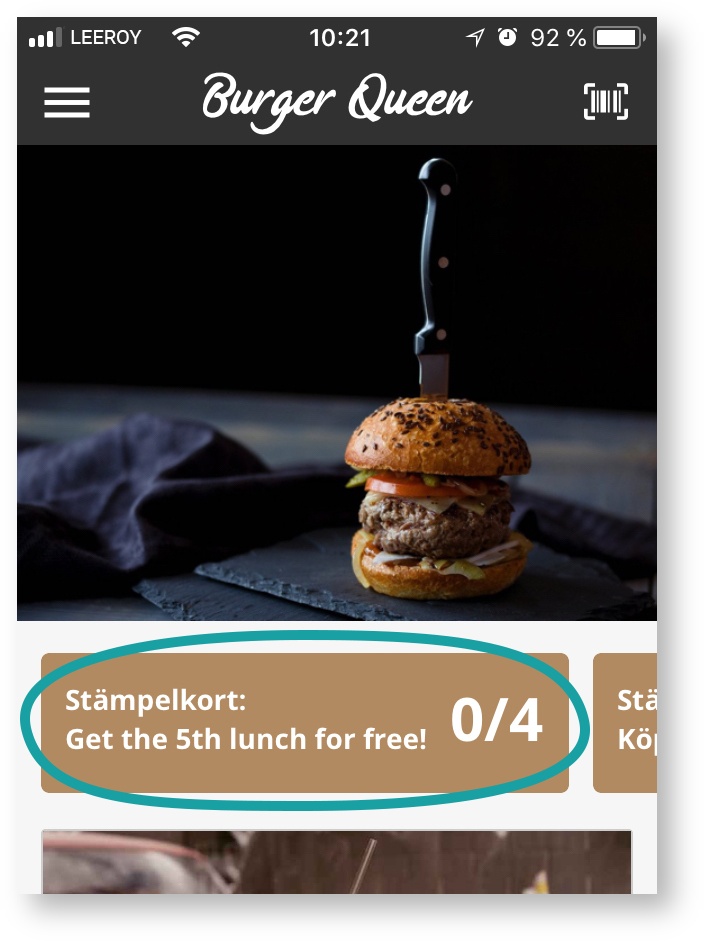
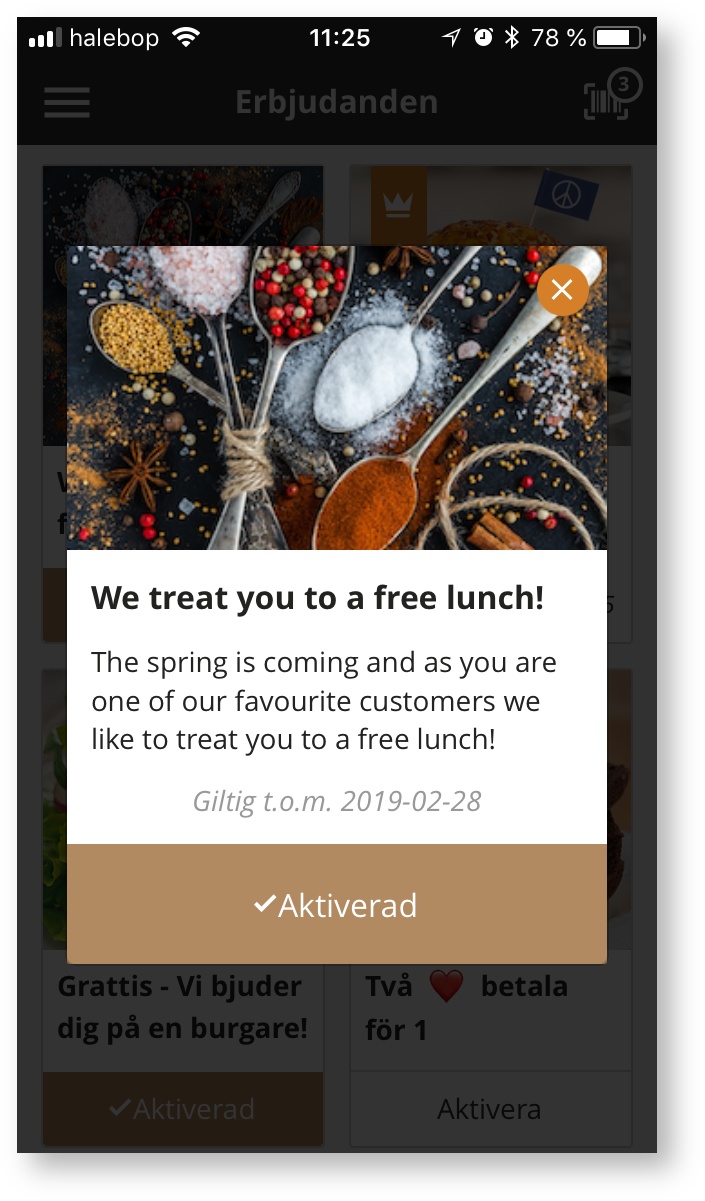
The customer has to click the "Stämpelkort"/punch card to open it up and see the offer and terms. The picture below is how an open punch card can look. One lunch is purchased = 1 stamp is filled.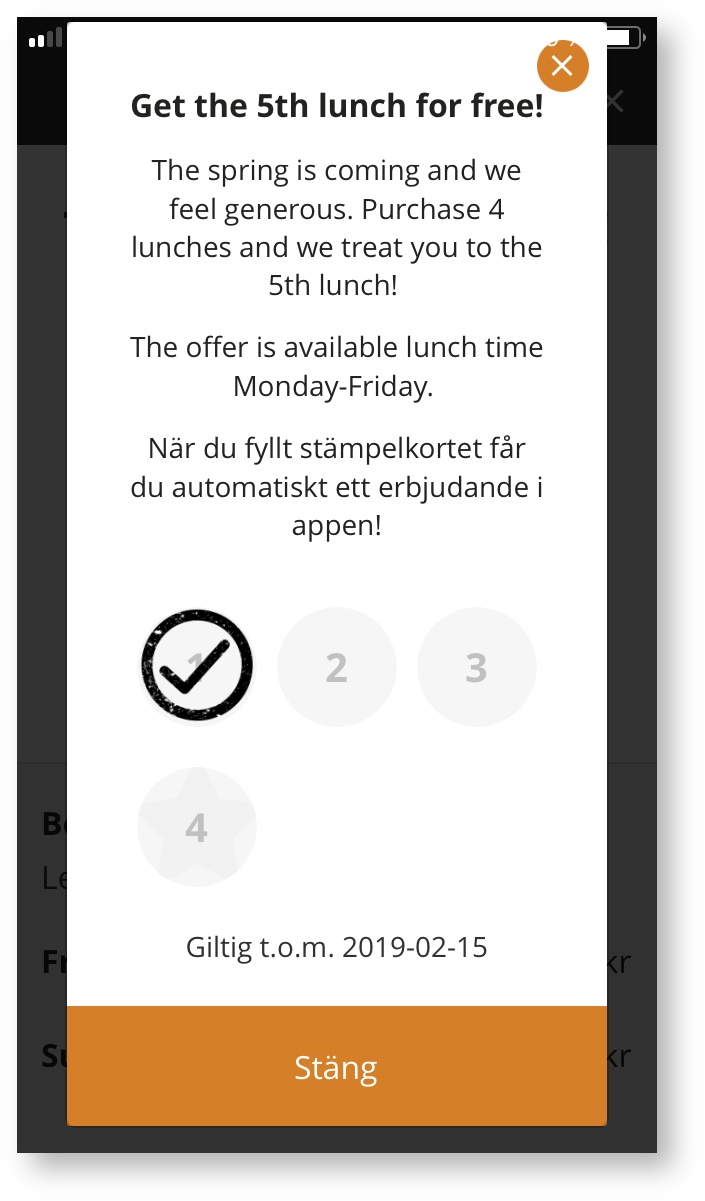
Click save in the right lower corner of the page.
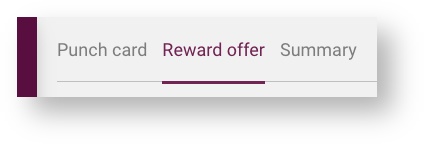
Click the Reward offer at the top of the page to continue.
Reward offer
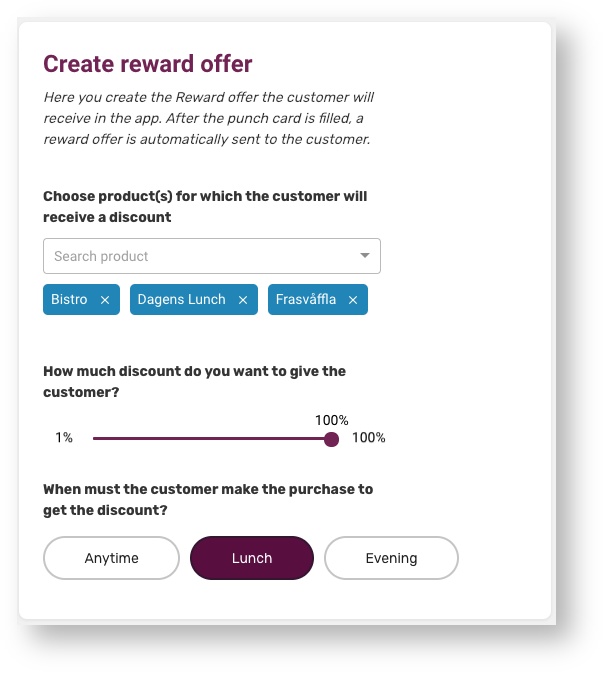
Create reward offer
Now it's time to create the reward the customer will receive when they have filled their punch card.
- Add one or several products to choose from for the reward. The customer can only collect one product no matter how many products and choices you add.
Drag the percent point to the desired discount level.
Click the time slot for the purchase.
Appearance
You are now going to create the appearance of how the reward will look in the app for the customer.
Import a picture to be viewed in the reward offer. Click on the plus sign and select a picture from your computer.
Write the text for the Heading and Body. Make sure that the texts make it clear what the benefit of the reward is.
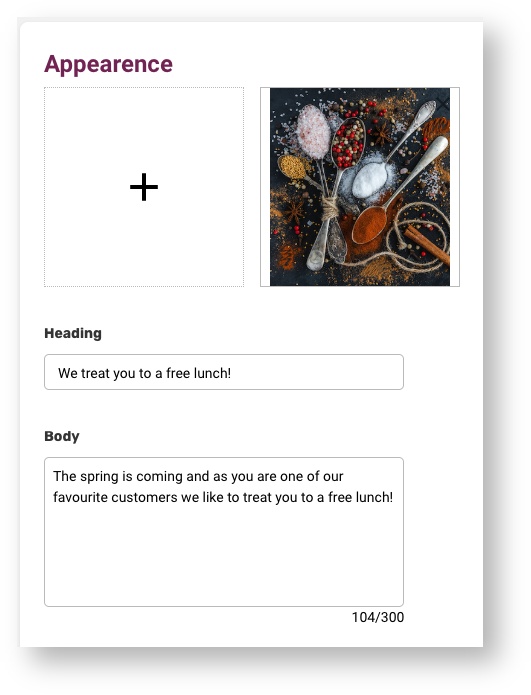
The first picture below is how the reward will look in the app, the second shows how the reward offer appears when it is opened.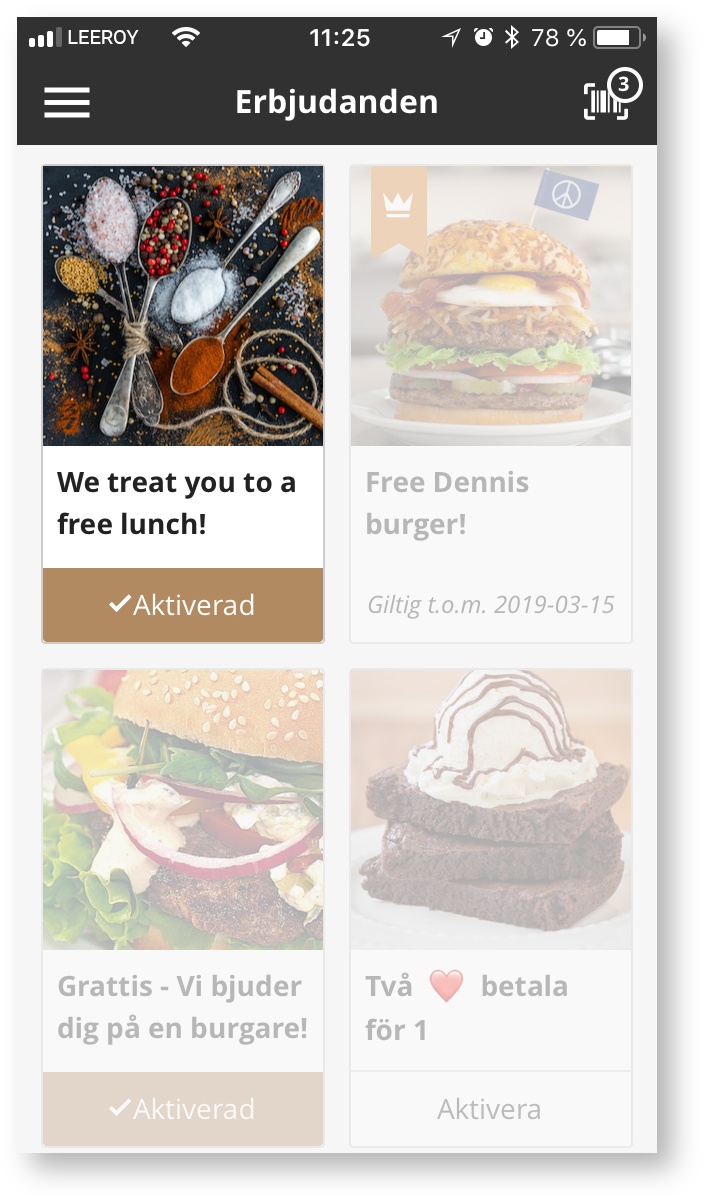
Click on save
Go to next page, Summary
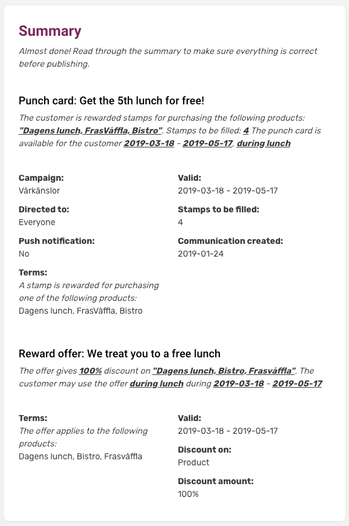
Summary
Here is a summary of your punch card. Read it thoroughly and make sure everything is right.
If you see something you like to change, just go back by clicking on the page and edit the information. Remember to save after the change.
When satisfied, press Publish in the right top corner of the page.
You are done! The punch card will show up in the app from the start date you entered.